Cách dùng AppBar trong Flutter
Cách dùng AppBar trong Flutter từ cơ bản đến nâng cao, đây là công cụ dùng để hiển thị một mẫu thiết kế dạng material khá quen thuộc.

Trong Flutter, AppBar class được dùng để hiển thị một ô giao diện với các tùy chọn bên trong, đó có thể là các button như những ứng dụng mà bạn đang sử dụng trên điện thoại của mình.
AppBar sẽ hiển thị cố định chiều cao ở phía trên cùng của màn hình, và nó có nhiều thuộc tính như: backgroundColor, primary, title ... giúp ta có thể tùy biến giao diện cho AppBar.
Cú pháp AppBar trong Flutter
Cú pháp đơn giản nhất đó là cấu hình tiêu đề cho AppBar, kèm theo đó là những hành động (actions) như sau:
Bài viết này được đăng tại [free tuts .net]
AppBar(
  title: /*some title*/,
  actions: <Widget>[
    //array of widgets that take some actions
  ],
),
Ví dụ: Viết một ứng dụng hiển thị AppBar trong Flutter, với tiêu đề là Flutter Tutorial.
import 'package:flutter/material.dart';

void main() => runApp(const MyApp());

/// main application widget
class MyApp extends StatelessWidget {
  const MyApp({Key? key}) : super(key: key);

  static const String _title = 'Flutter Tutorial';

  @override
  Widget build(BuildContext context) {
    return const MaterialApp(
      title: _title,
      home: MyStatelessWidget(),
    );
  }
}

/// stateless widget that the main application instantiates
class MyStatelessWidget extends StatelessWidget {
  const MyStatelessWidget({Key? key}) : super(key: key);

  @override
  Widget build(BuildContext context) {
    return Scaffold(
      appBar: AppBar(
        title: const Text('AppBar Tutorial'),
      ),
      body: const Center(
        child: Text(
          'Hello World!',
          style: TextStyle(fontSize: 24),
        ),
      ),
    );
  }
}
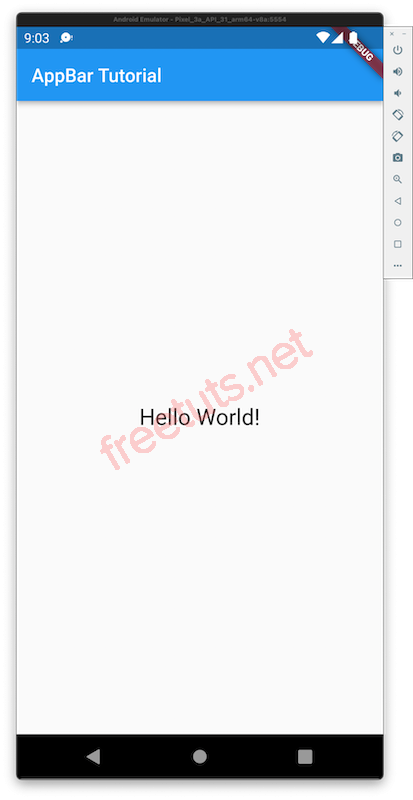
Chạy lên thì ta có giao diện như sau (trong trình Android Emulator):
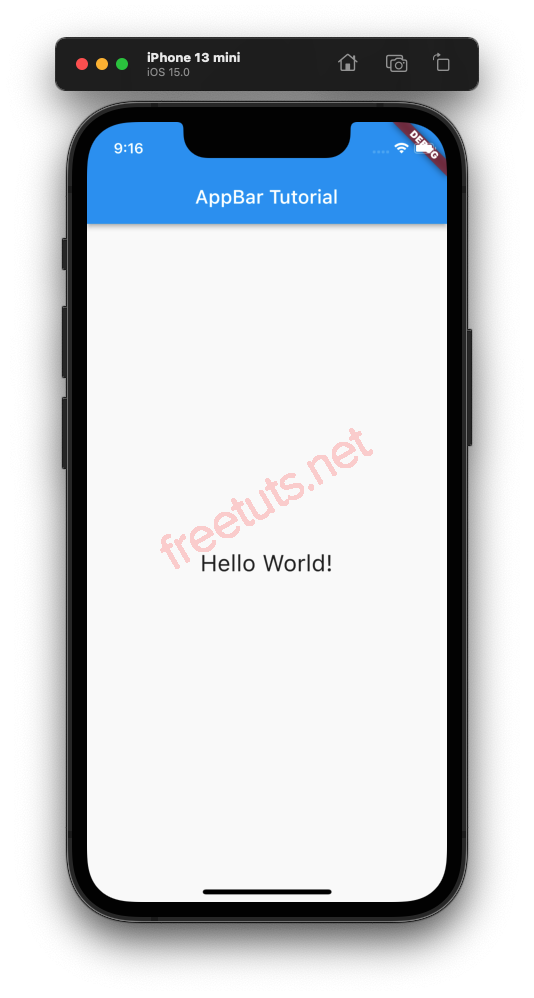
Kết quả trên iPhone như sau:
Ví dụ Flutter AppBar kèm các actions
Trong ví dụ dưới đây ta sẽ xây dựng ứng dụng kèm theo các actions, bạn sẽ phải kết hợp với các đối tượng khác.
import 'package:flutter/material.dart';

void main() => runApp(const MyApp());

/// main application widget
class MyApp extends StatelessWidget {
  const MyApp({Key? key}) : super(key: key);

  static const String _title = 'Flutter Tutorial';

  @override
  Widget build(BuildContext context) {
    return const MaterialApp(
      title: _title,
      home: MyStatelessWidget(),
    );
  }
}

/// stateless widget that the main application instantiates
class MyStatelessWidget extends StatelessWidget {
  const MyStatelessWidget({Key? key}) : super(key: key);

  @override
  Widget build(BuildContext context) {
    return Scaffold(
      appBar: AppBar(
        title: const Text('AppBar Tutorial'),
        actions: <Widget>[
          IconButton(
            icon: const Icon(Icons.add_alert),
            onPressed: () {
              ScaffoldMessenger.of(context).showSnackBar(
                  const SnackBar(content: Text('You pressed bell icon.')));
            },
          ),
        ],
      ),
      body: const Center(
        child: Text(
          'Hello World!',
          style: TextStyle(fontSize: 24),
        ),
      ),
    );
  }
}
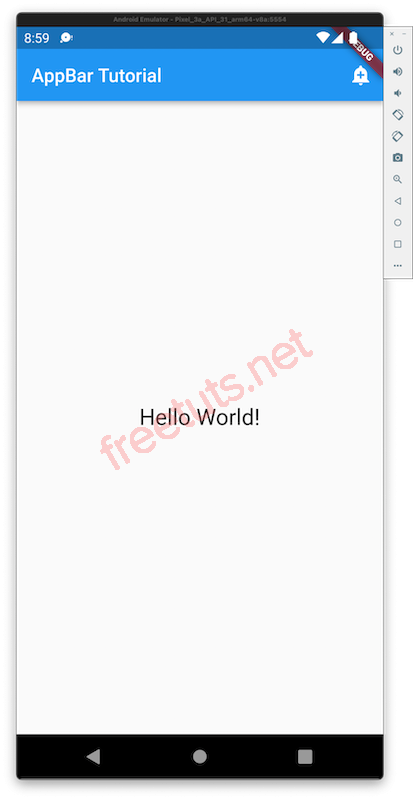
Kết quả trên Android Emulator:
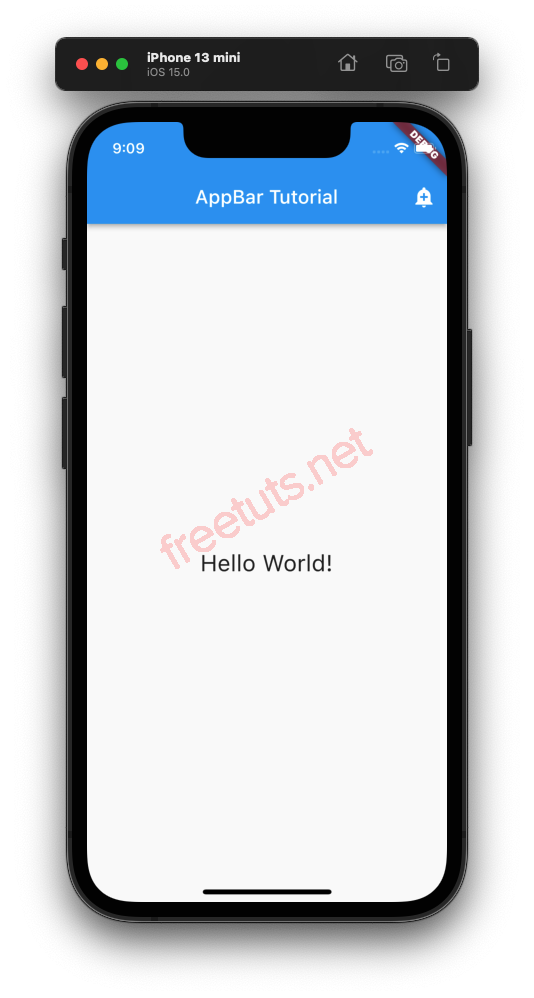
Kết quả trên iPhone:
Như vậy là mình đã hướn dẫn xong cách sử dụng AppBar Flutter, đây là công cụ khá hữu ích và sử dụng thường xuyên khi làm việc với Flutter.

 Image trong React Native
  Cấu trúc thư mục Project Android
  Cách khai báo biến trong PHP, các loại biến thường gặp
  Download và cài đặt Vertrigo Server
  Thẻ li trong HTML
  Thẻ article trong HTML5
  Cấu trúc HTML5: Cách tạo template HTML5 đầu tiên
  Cách dùng thẻ img trong HTML và các thuộc tính của img
  Thẻ a trong HTML và các thuộc tính của thẻ a thường dùng