 Các hàm xử lý chuỗi trong Javascript (cắt / tách / nối chuỗi ..)
  Chia lấy phần dư / chia lấy phần nguyên trong javascript
  Các cách khai báo biến trong Javascript
  Các sự kiện (Event) trong Javascript
 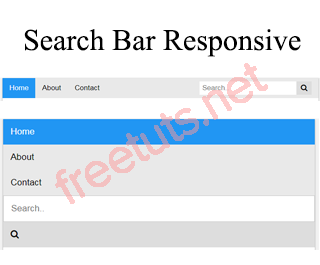 Hướng tạo thanh search bar bằng CSS
  Hàm array.slice() trong Javascript
  Tính tổng hai số bằng Javascript (cộng hai số)
  Cách khai báo biến trong PHP, các loại biến thường gặp
  Download và cài đặt Vertrigo Server
  Thẻ li trong HTML
  Thẻ article trong HTML5
  Cấu trúc HTML5: Cách tạo template HTML5 đầu tiên
  Cách dùng thẻ img trong HTML và các thuộc tính của img
  Thẻ a trong HTML và các thuộc tính của thẻ a thường dùng
 Tạo HTML danh sách bài viết đơn giản
Trong bài này mình sẽ hướng dẫn cách tạo danh sách bài viết bằng HTML, qua bài này bạn sẽ hiểu và áp dụng được một số thẻ heading, thẻ p, thẻ div, và nhiều thuộc tính CSS liên quan khác.

Mục đích mình đưa ra bài tập này là giúp các bạn hiểu được cách xây dựng giao diện HTML dạng danh sách. Mình sẽ không hướng dẫn làm một giao diện cute, mà chỉ làm theo một mô hình chuẩn để các bạn thực hành thôi nhé. Sau này muốn style kiểu gì thì tùy các bạn.
1. Giao diện HTML danh sách bài viết sẽ làm
Mình sẽ không hướng dẫn xây dựng bổ cục trang web nữa. Nếu bạn chưa biết cách thì quay lại bài học tạo bổ cục layout HTML nhé.
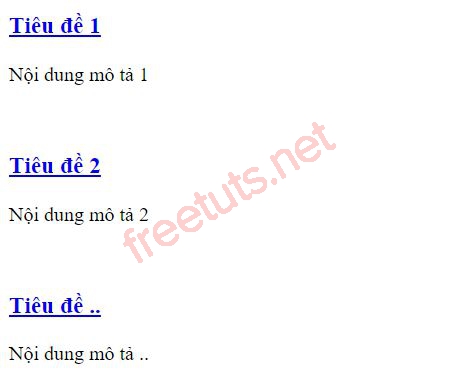
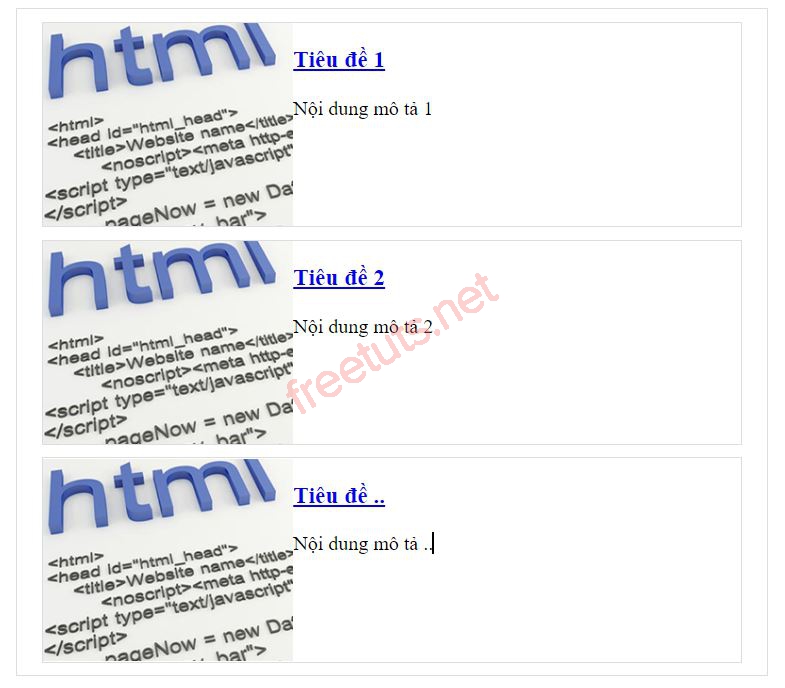
Trong bài này mình sẽ làm một giao diện có dạng như sau:
Bài viết này được đăng tại [free tuts .net]
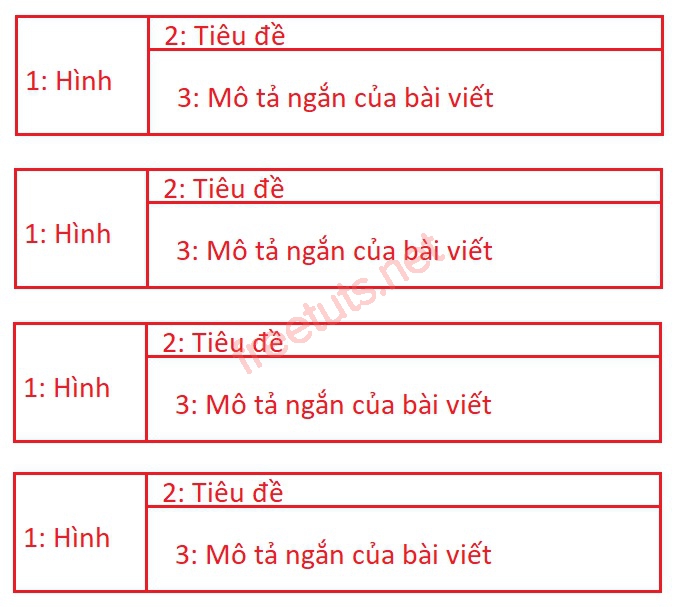
Đây là cách hiển thị chuẩn mà các bạn sẽ gặp trên hầu hết các trang web hiện nay.
Chúng ta sẽ cần một thẻ div#list_post để bao quanh toàn bộ bài viết lại. Với mỗi bài viết thì chúng ta cũng cần tạo thêm một thẻ div.post. Mình sử dụng class thì vì chúng ta có nhiều bài viết và chúng có chung một kiểu style CSS. Lúc này cấu trúc cơ bản của phần này sẽ như sau:
<div id="list_post">
    <div class="post">
        POST 1
    </div>
    <div class="post">
        POST 2
    </div>
    <div class="post">
        POST ..
    </div>
</div>
Mỗi bài viết chúng ta lại chia thành 2 phần. Thứ nhất là hình ảnh đại diện cho bài viết, nó sẽ nằm phía bên trái. Thứ 2 là nội dung sẽ nằm phía bên phải. Mình sẽ tạo 2 thẻ div như sau:
<div id="list_post">
    <div class="post">
        <div class="thumb">
            <img src="URL HÌNH 1" alt=""/>
        </div>
        <div class="infor">
            <h3><a href="URL BÀI VIẾT 1">Tiêu đề 1</a></h3>
            <p>
                Nội dung mô tả 1
            </p>
        </div>
    </div>
    <div class="post">
        <div class="thumb">
            <img src="URL HÌNH 2" alt=""/>
        </div>
        <div class="infor">
            <h3><a href="URL BÀI VIẾT 1">Tiêu đề 2</a></h3>
            <p>
                Nội dung mô tả 2
            </p>
        </div>
    </div>
    <div class="post">
        <div class="thumb">
            <img src="URL HÌNH .." alt=""/>
        </div>
        <div class="infor">
            <h3><a href="URL BÀI VIẾT ..">Tiêu đề ..</a></h3>
            <p>
                Nội dung mô tả ..
            </p>
        </div>
    </div>
</div>
Chạy lên chúng ta sẽ có giao diện như sau:
Bây giờ ta sẽ cần một chút CSS để giúp giao diện trông đẹp hơn nhé.
2. Dùng CSS để xây dựng giao diện danh sách bài viết
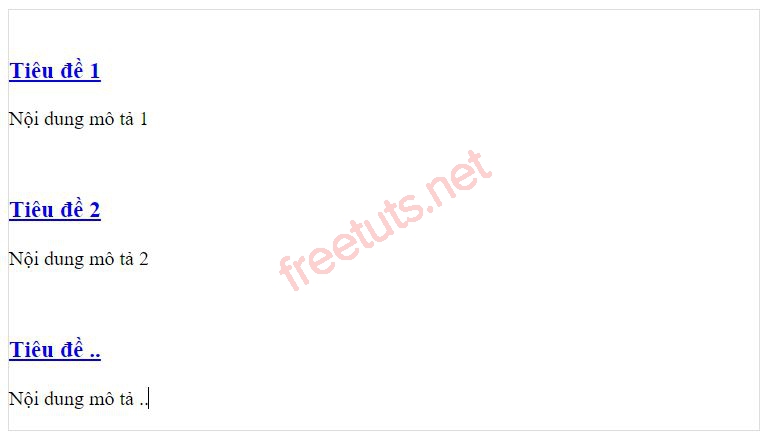
Bước 1: Mình sẽ giới hạn chiều rộng của thẻ div#list_post khoảng 600px nhé các bạn, đồng thời cho thêm một chút đường viền để dễ dàng nhận biết. Ta cũng nên canh giữa cho nó bằng cách sử dụng CSS margin: 0px auto.
#list_post{
    border: solid 1px #ddd;
    width: 600px;
    margin: 0px auto;
}
Kết quả:
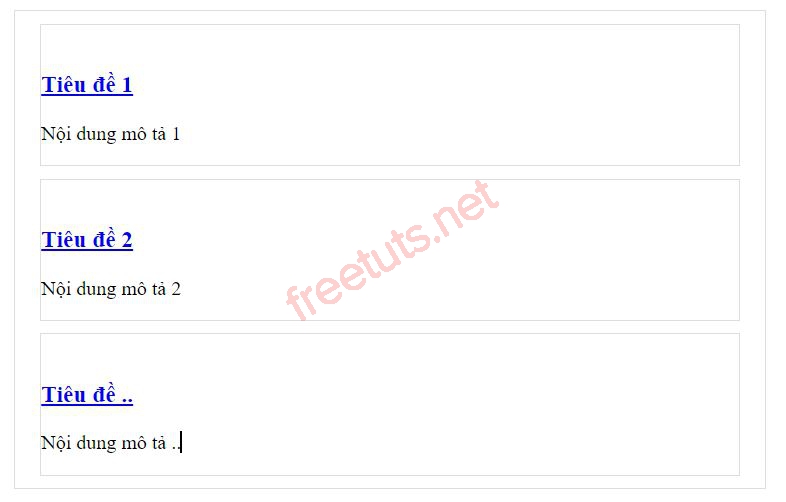
Bước 2: Mình cũng tạo đường viền cho mỗi bài viết bằng cách style cho div.post. Sử dụng thêm thuộc tính margin để tăng khoảng cách giữa bài viết và đường biên bên ngoài.
.post{
    border: solid 1px #ddd;
    margin: 10px 20px;
}
Kết quả:
Bước 3: Mình sẽ bổ sung link hình ảnh cho 3 bài viết.
<div id="list_post">
    <div class="post">
        <div class="thumb">
            <img src="https://freetuts.net/upload/tut_series/images/2015/12/14/39/html-can-ban.jpg" alt=""/>
        </div>
        <div class="infor">
            <h3><a href="URL BÀI VIẾT 1">Tiêu đề 1</a></h3>
            <p>
                Nội dung mô tả 1
            </p>
        </div>
    </div>
    <div class="post">
        <div class="thumb">
            <img src="https://freetuts.net/upload/tut_series/images/2015/12/14/39/html-can-ban.jpg" alt=""/>
        </div>
        <div class="infor">
            <h3><a href="URL BÀI VIẾT 1">Tiêu đề 2</a></h3>
            <p>
                Nội dung mô tả 2
            </p>
        </div>
    </div>
    <div class="post">
        <div class="thumb">
            <img src="https://freetuts.net/upload/tut_series/images/2015/12/14/39/html-can-ban.jpg" alt=""/>
        </div>
        <div class="infor">
            <h3><a href="URL BÀI VIẾT ..">Tiêu đề ..</a></h3>
            <p>
                Nội dung mô tả ..
            </p>
        </div>
    </div>
</div>
Bước 4: Bây giờ ta sẽ style cho phần hình ảnh. Mình sẽ dùng float để treo nó về góc trái, sau đó thiết lập chiều rộng cho nó khoảng 200px. Đối với hình ảnh thì mình sẽ thiết lập max-width là 200px (tức là 100%).
.post .thumb{
    float:left;
    width: 200px;
}
.post .thumb img{
    max-width: 100%;
    display: inherit;
}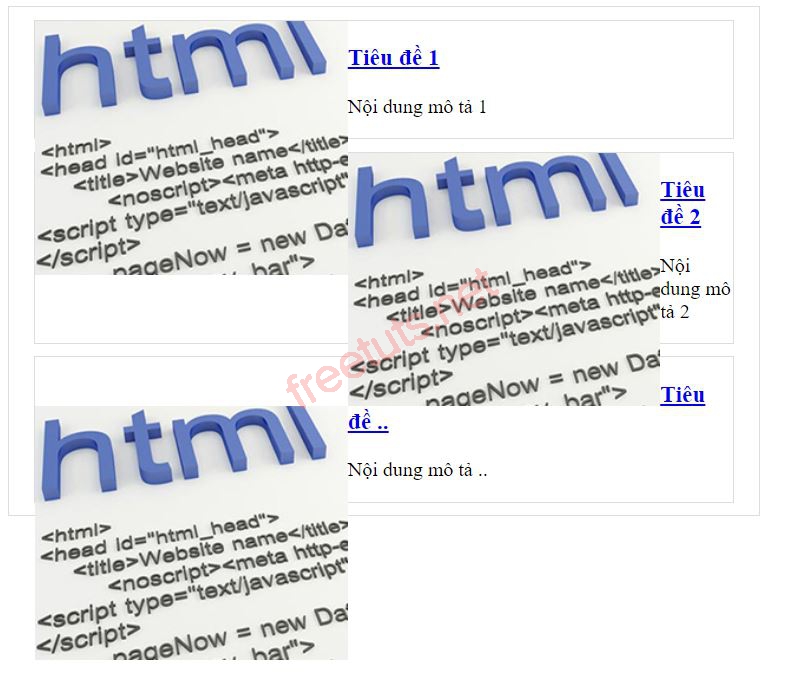
Kết quả giao diện bị vỡ. Lý do là ta sử dụng float:left cho phần hình ảnh (float left treo ở góc trái), nên khoảng không sẽ phụ thuộc vào phần content. Để khắc phục vấn đề này thì bạn chỉ cần thêm thuộc tính overflow:hidden vào .post là được.
.post{
    border: solid 1px #ddd;
    margin: 10px 20px;
    overflow: hidden;
}
overflow: hidden;
}
Bước 5: Thay đổi nội dung cho phần tiêu đề bài viết.
Mình sẽ cho margin bên trái tầm 220px để giữa hình ảnh và tiêu đề có khoảng trống, và thay đổi font chữ, màu chữ cho phần tiêu đề.
.post .infor{
    margin-left: 220px;
}
.post .infor h3{
    margin: 15px 0px 20px 0px;
}
.post .infor h3 a{
    font-size: 18px;
    text-decoration: none;
    color: blue;
    text-transform: uppercase;
}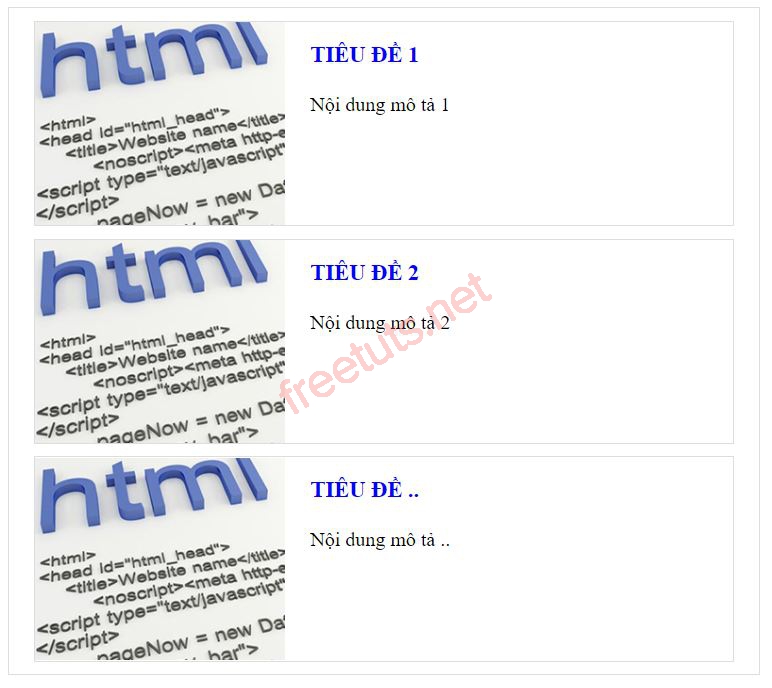
Bây giờ trông có vẻ ok hơn rồi đấy. Bạn muốn thay đổi kiểu gì thì tự thêm CSS nhé.
Qua bài này mình đã hướng dẫn xong cách xây dựng danh sách bài viết bằng HTML và CSS. Đây là bài mẫu nên cực kì đơn giản, mục đích giúp những bạn mới học CSS tiếp cận với nhiều loại giao diện khác nhau. Hẹn gặp lại các bạn ở bài tiếp theo nhé.